Welcome to the Frappe-powered workspace
where managers and admins take charge. From customers and items to reports and more add every essential detail with confidence and clarity. It’s all about making work smoother, faster, and smarter.
Let’s get started and make every task count.
Getting Started with CheckTrack
To begin, log in to your CheckTrack app.
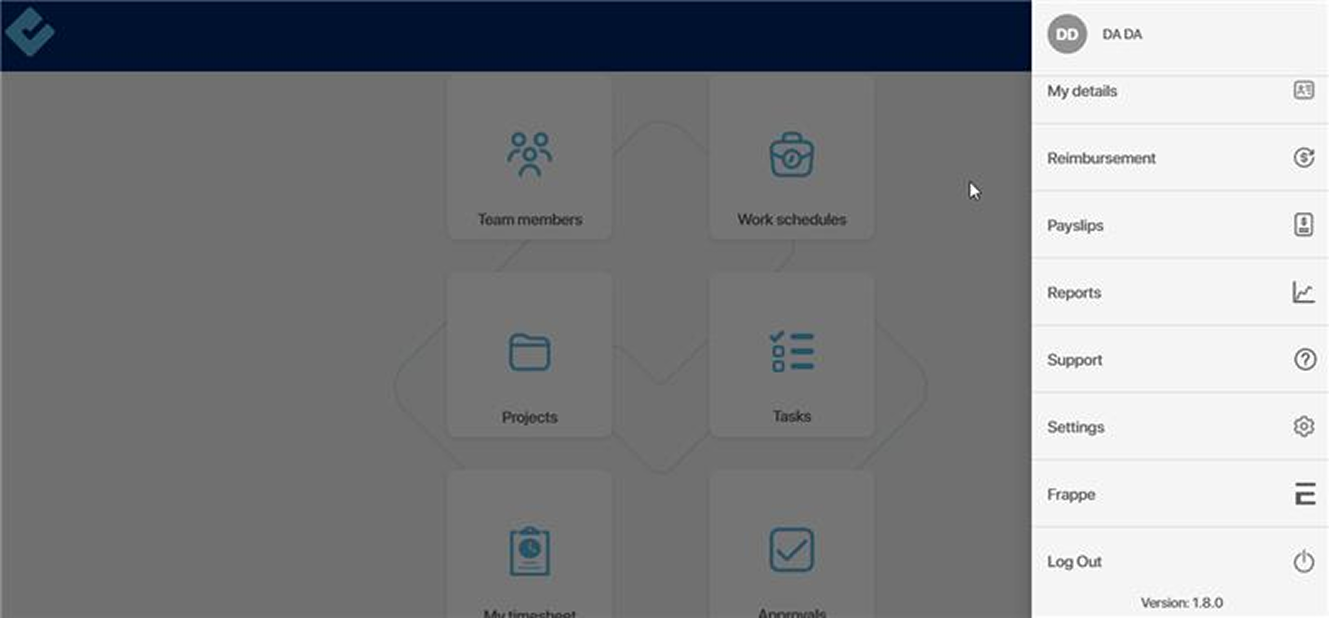
Once logged in, Head to the side menu and tap on the Frappe option
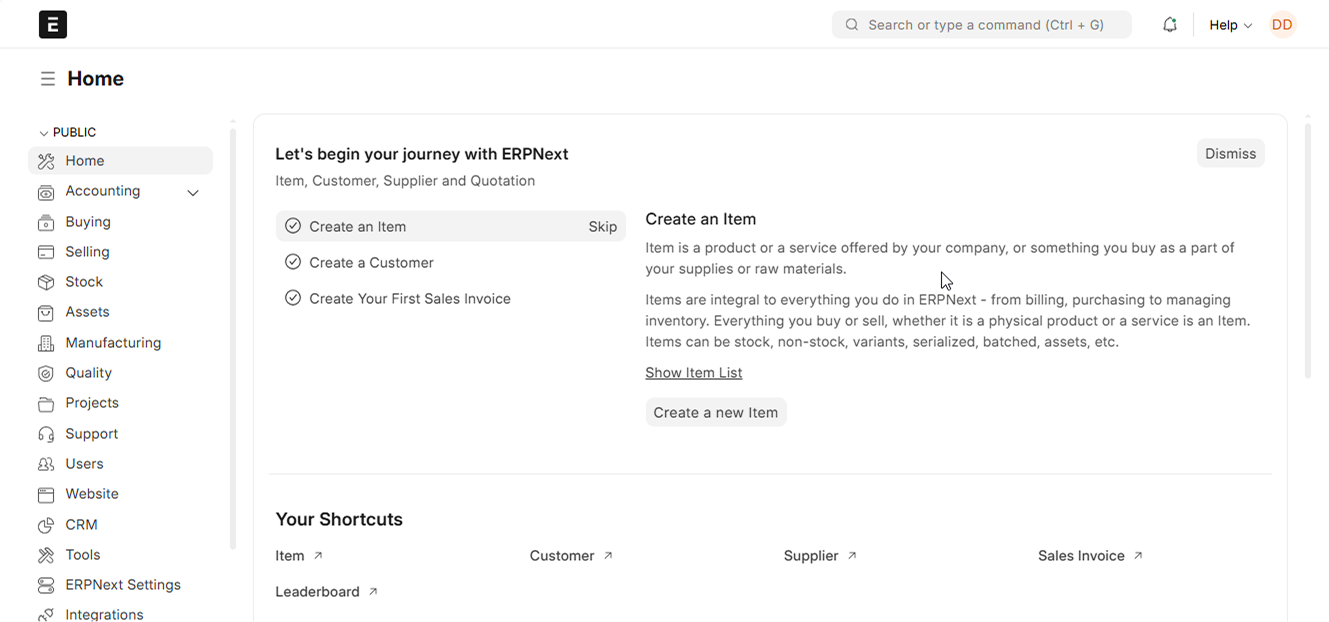
You’ll be redirected to the Frappe dashboard your command center for all admin tasks.
Only admins have access here
so you’re in full control to manage customers, items, reports, and more.
Ready to dive in? Let’s get started!
Let’s go with the task first:
Task Management
Want to add a task? Here’s how simple it is!
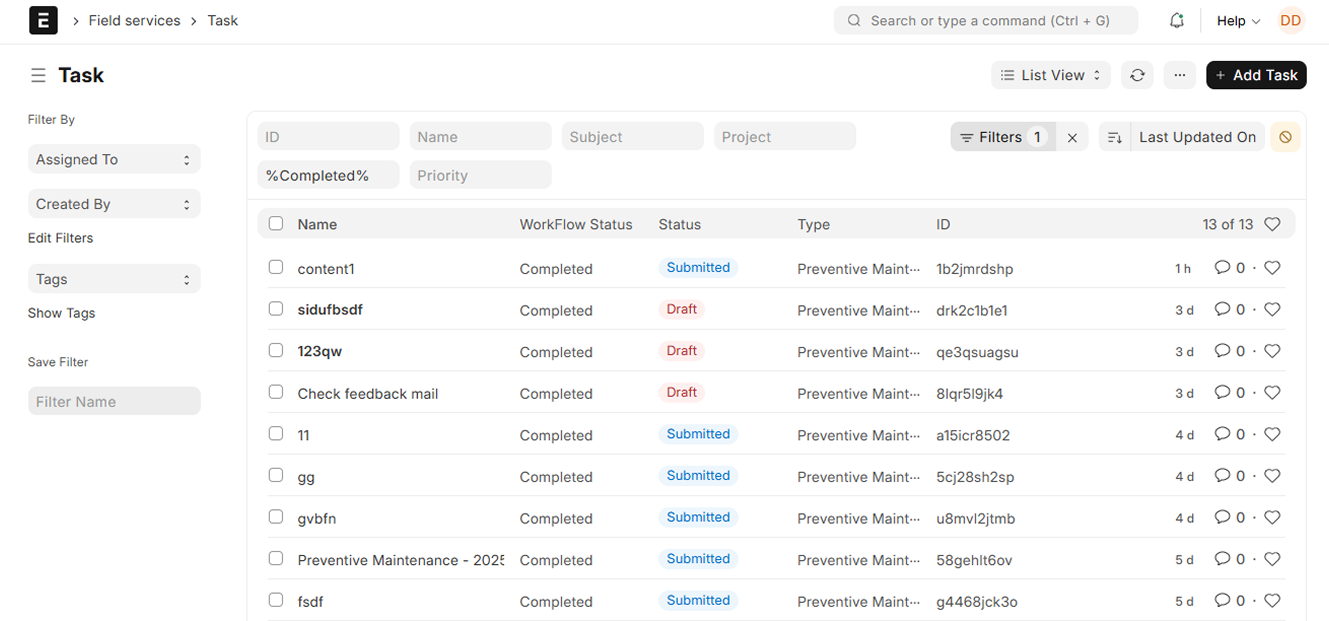
Just tap the search icon and type in “Task List.” Click on it, and a full screen with all your existing tasks will be neatly laid out!
From here, you can manage, track, or add new tasks with ease. Let’s get organized!
Ready to add a new task? Let’s do it!
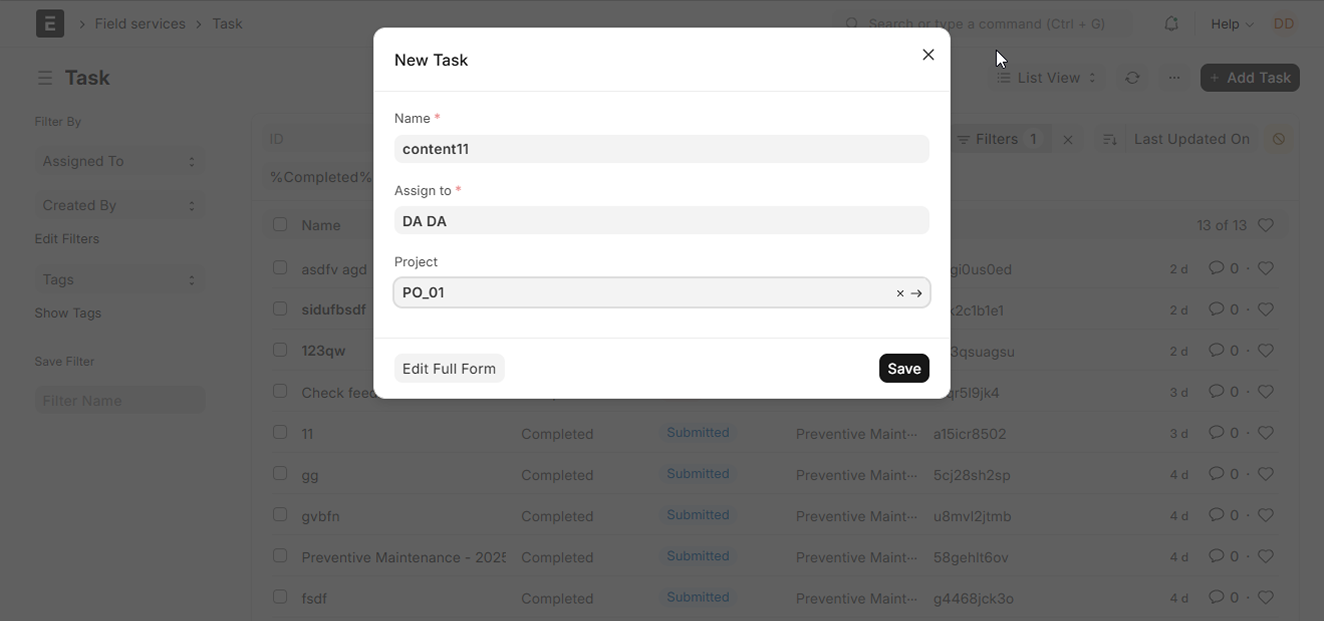
Click on the “Add Task” button on the right side of your screen.
A form will appear just fill in the essentials: Task Name, Assigned To, Project, and more. Once done, hit Save, then Submit.
To add more details you can click on “Edit Full Form” or add more details later on with edit task option after saving.
After submission, your task is live!
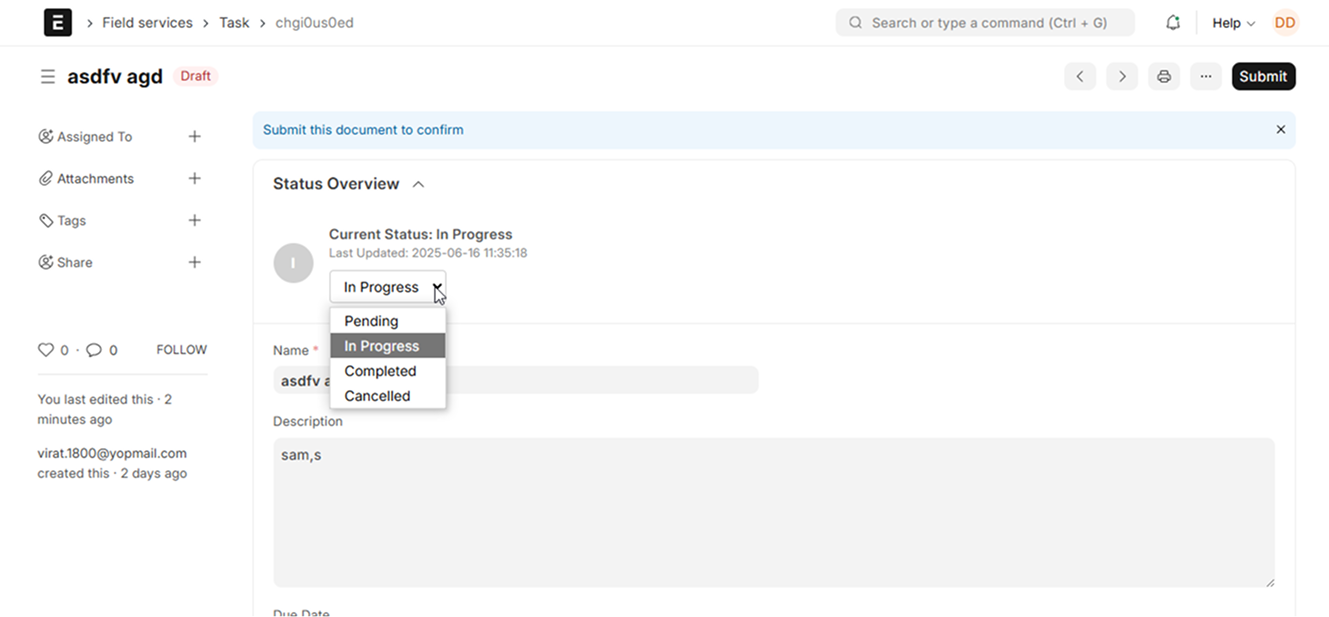
Click to open it and add more details like:
Description, Due Date, Task Type, Assignees, Watchers, Project, and plenty more to keep things on track.
You can easily switch it from Pending to In Progress or Cancelled whatever fits the current stage of your task.
The order of the task status change should be:
- Pending: In progress/ Cancelled
- In progress: Completed/ Cancelled
The best part?
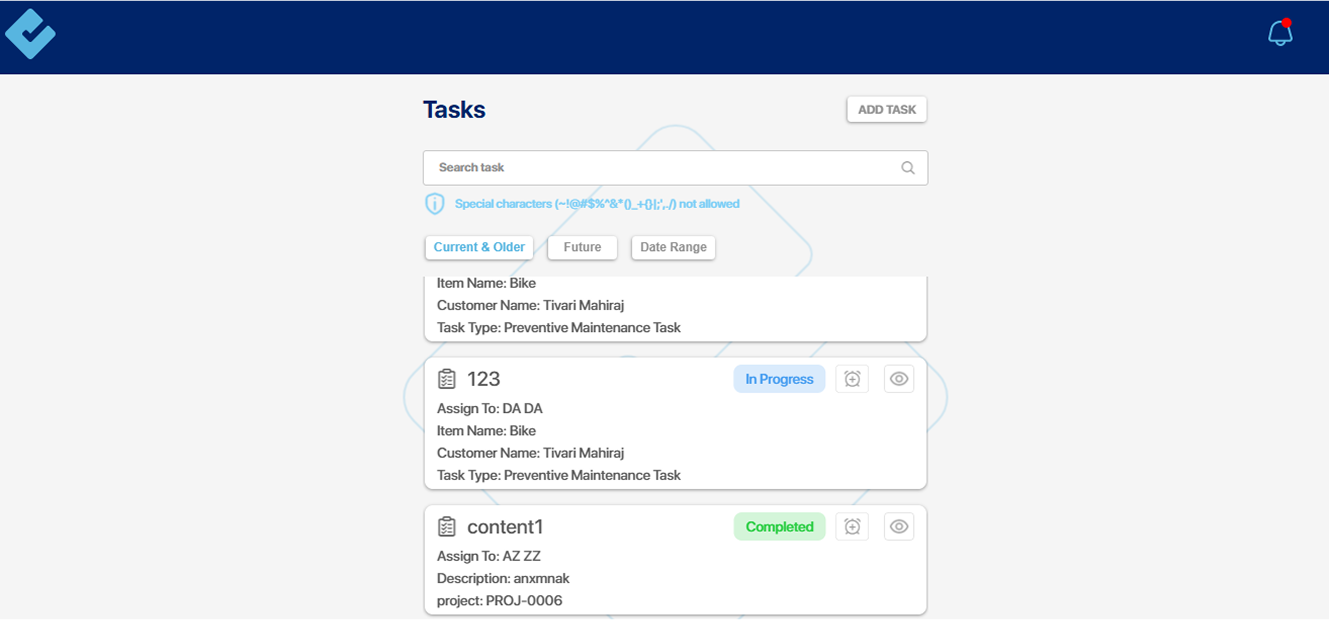
Any task you create or update in Frappe automatically syncs with your CheckTrack task list no extra effort needed. Stay aligned across platforms effortlessly!
And that’s everything you need to know about Task Management with all the necessary information in one place.
From creating and updating tasks to tracking progress, you’re now ready to manage it all with ease and clarity.
Let’s head over to the Maintenance Schedule!
Maintenance Schedule
Need to add maintenance-related details?
Just go to the search bar and type “Maintenance Schedule List.”
Once you’re in the Maintenance Schedule section, you’ll see a screen showing all existing schedules, and you can also add a new one.

To create a new schedule
go to the side menu and click on “Add Maintenance Schedule.
Some details like Company Name, Series, etc., will be auto-filled.
You just need to enter the rest like Status, Customer Name, Email ID, and other required information to complete the setup.
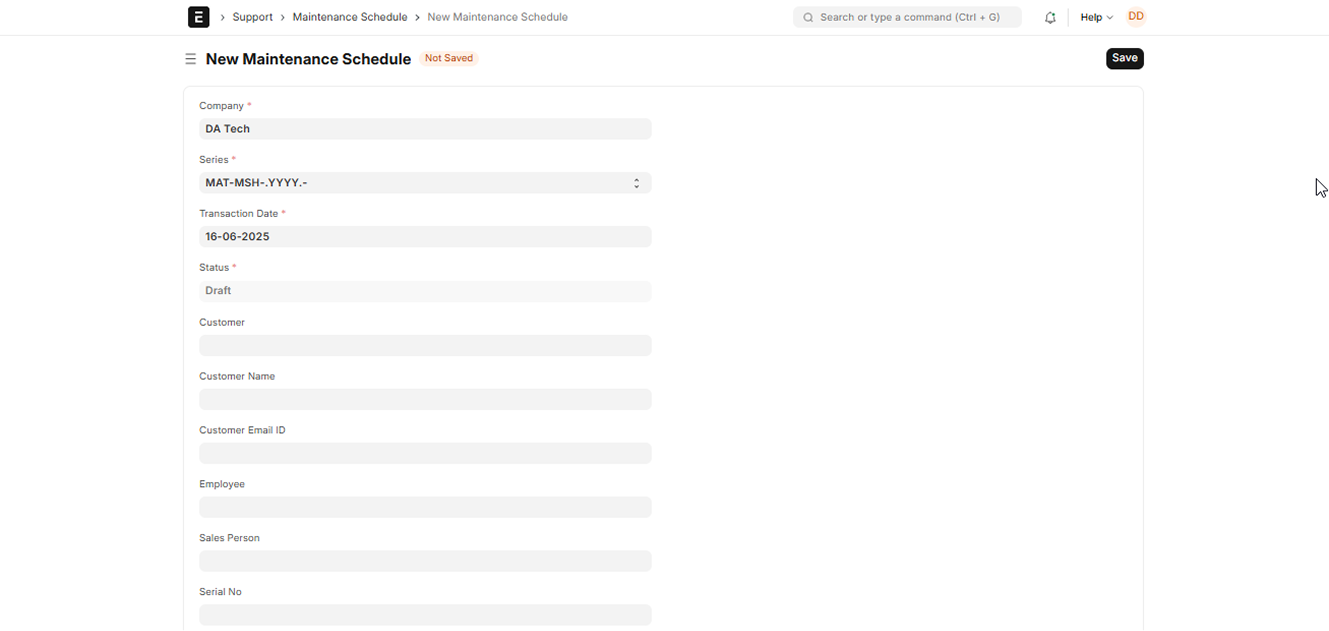
Once done, click on the save and submit and you are all set with it
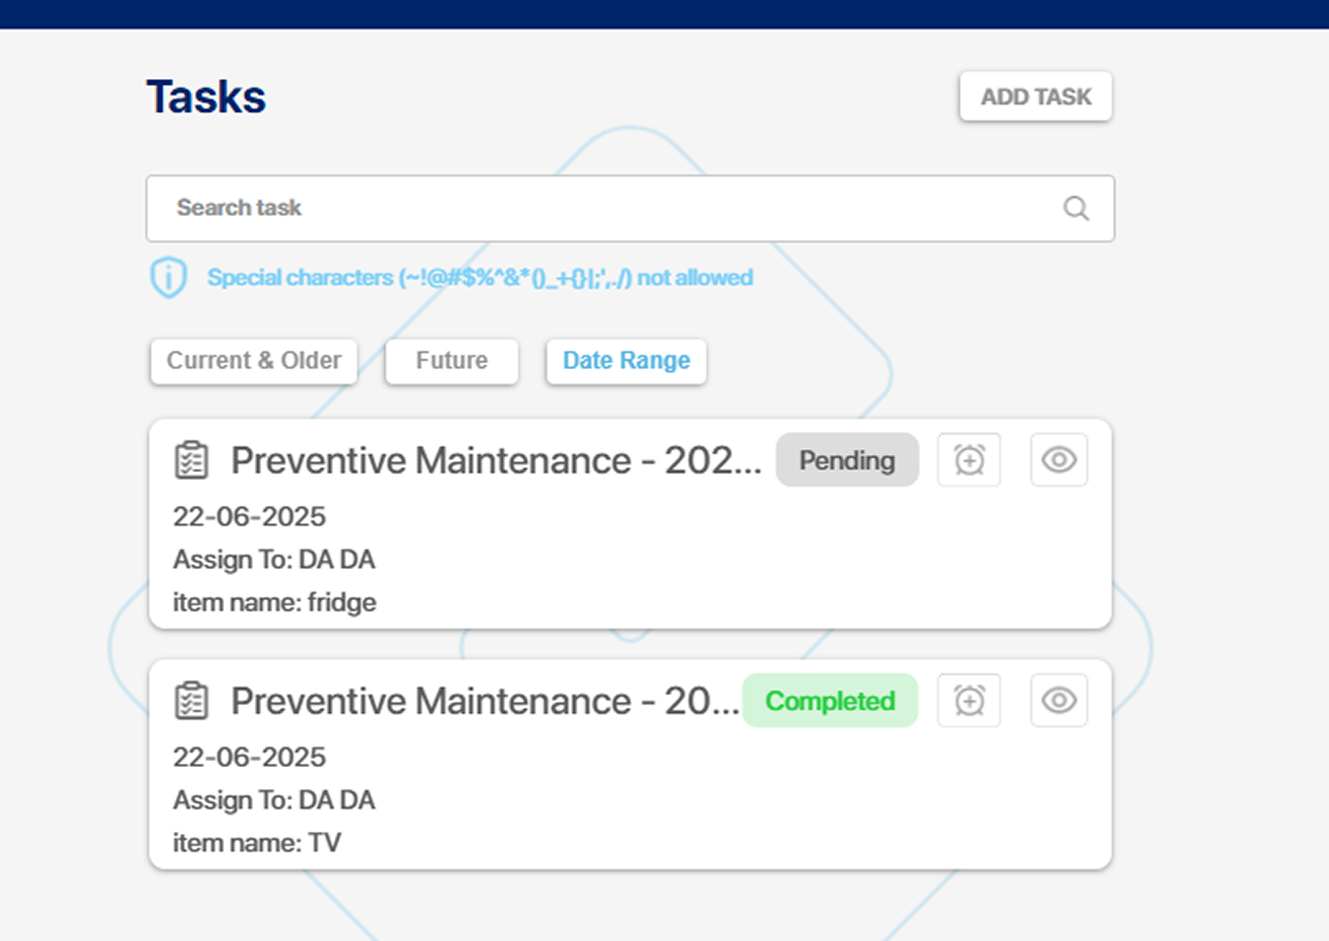
Once you set the start and end date along with the frequency, CheckTrack takes over from there automatically generating maintenance tasks for you. As shown in the image above, it syncs seamlessly with Frappe, so everything stays in check without lifting a finger.
See this in checktrack in tasks.
Adding a New Customer
Now, let’s add a customer just as simple!
Go to the search bar and type “Customer List”
Click on it, and you’ll see the existing customers along with an option to add a new one.
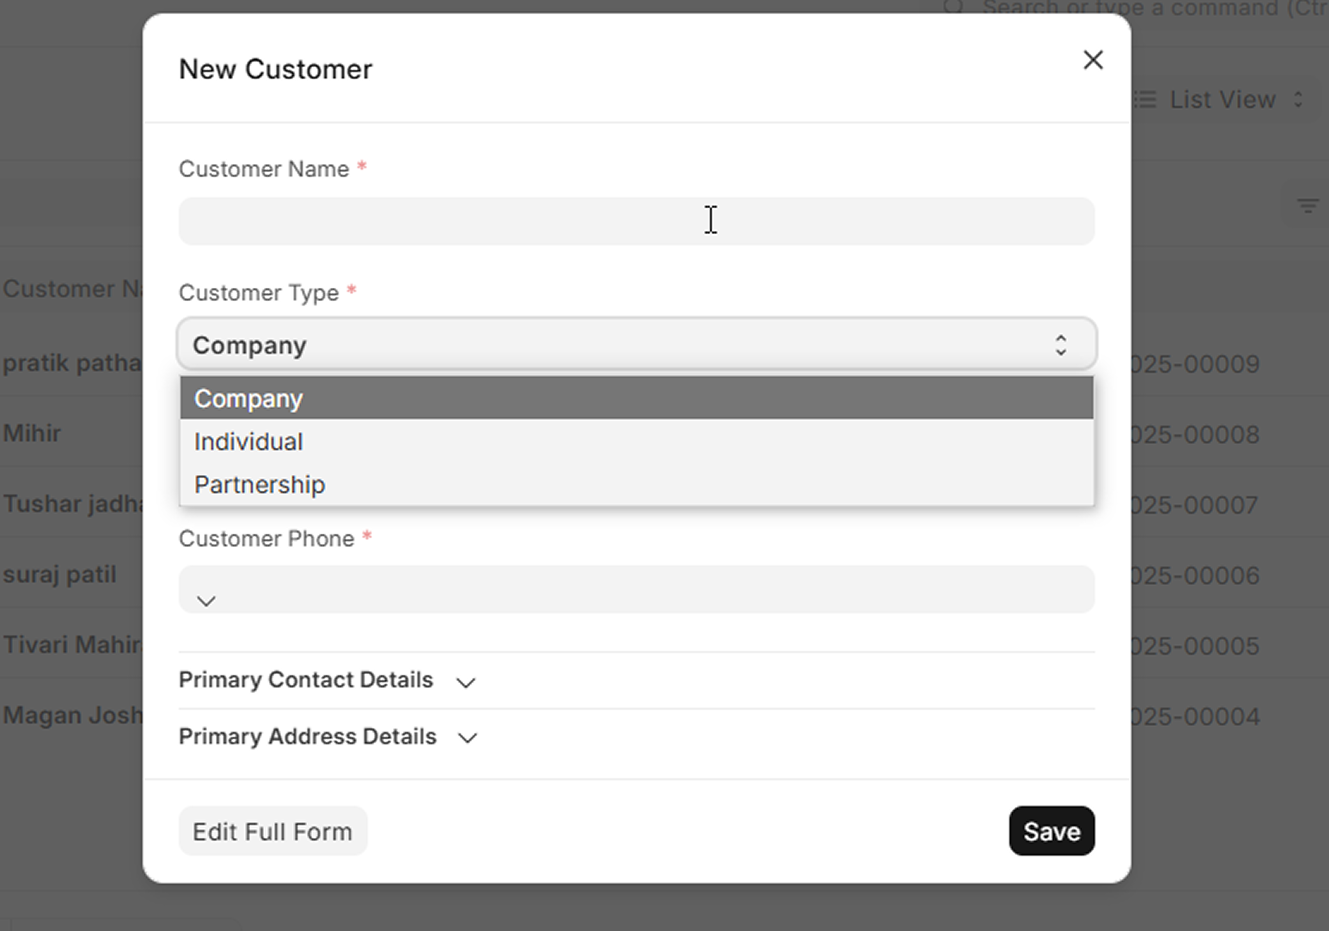
Fill in the necessary details like Name, Customer Type, Email, Phone Number, and more.
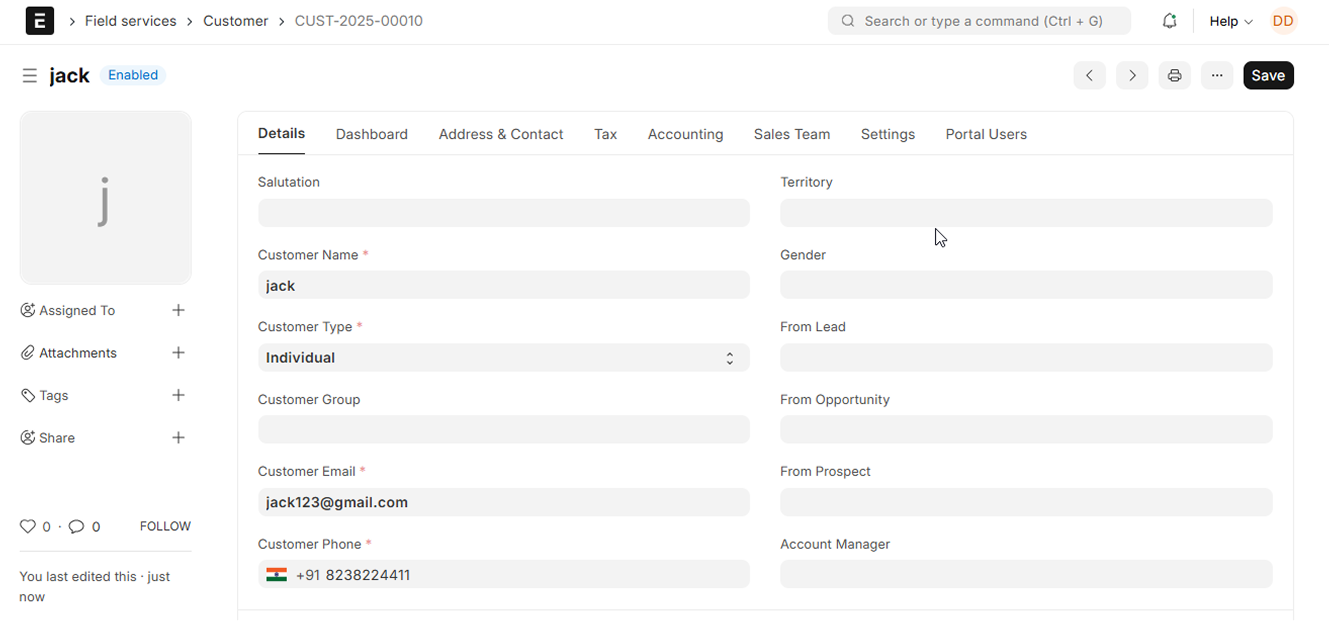
And that’s it
Jack is now successfully added as a new customer!
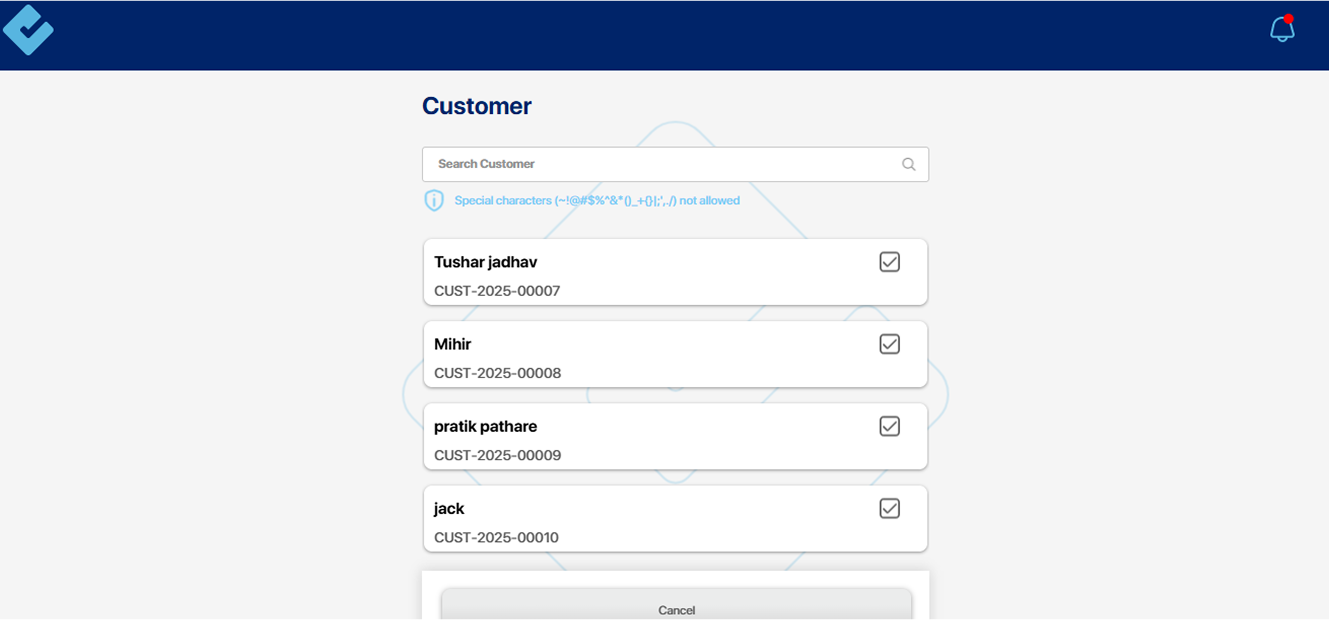
In CheckTrack as well
the new customer ‘Jack’ who was added in Frappe will appear.
So, whenever you add a task and select from the customer list, you’ll find the newly added customer from Frappe available here too.
Adding a New Item
“In a similar way, you can add a new item to the service.
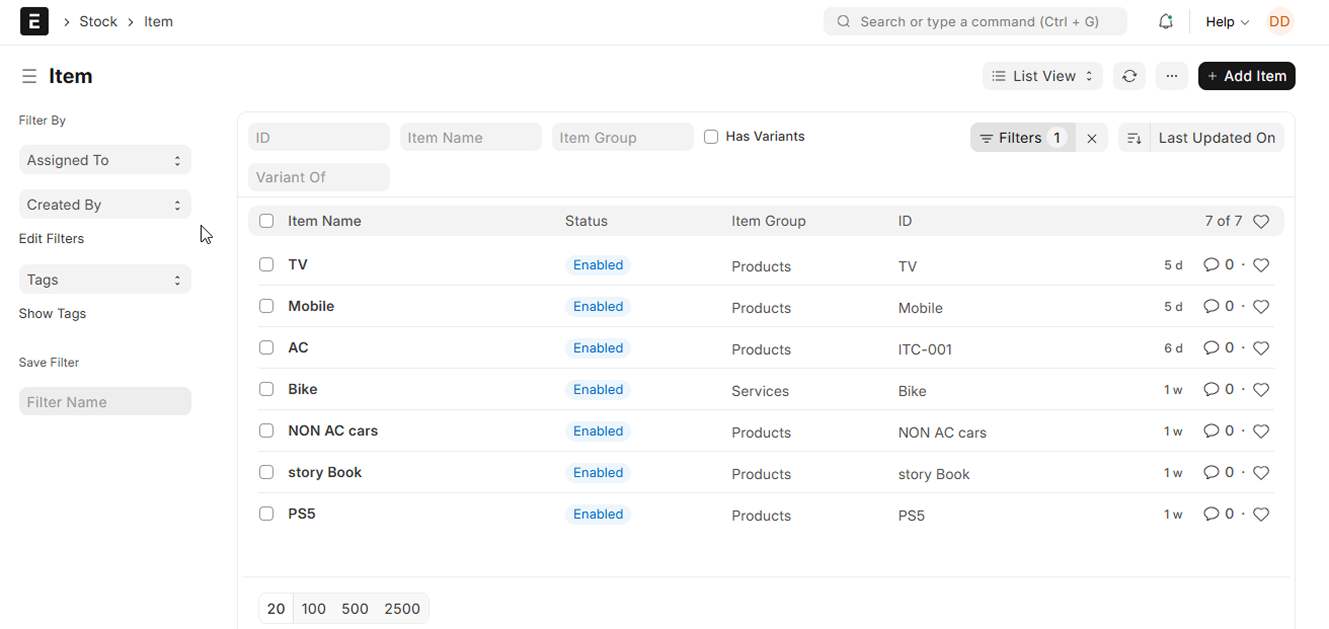
Go to the search bar search for “ Item List” and a list of existing items will appear.
To add a new one, click on ‘Add Item,’ fill in the item details, and save it.”
We’ve added a new customer Jack in the previous section. Now it’s time to link his products too.
Let’s say Jack owns a fridge.
We created a new item called Fridge, and saved the details.
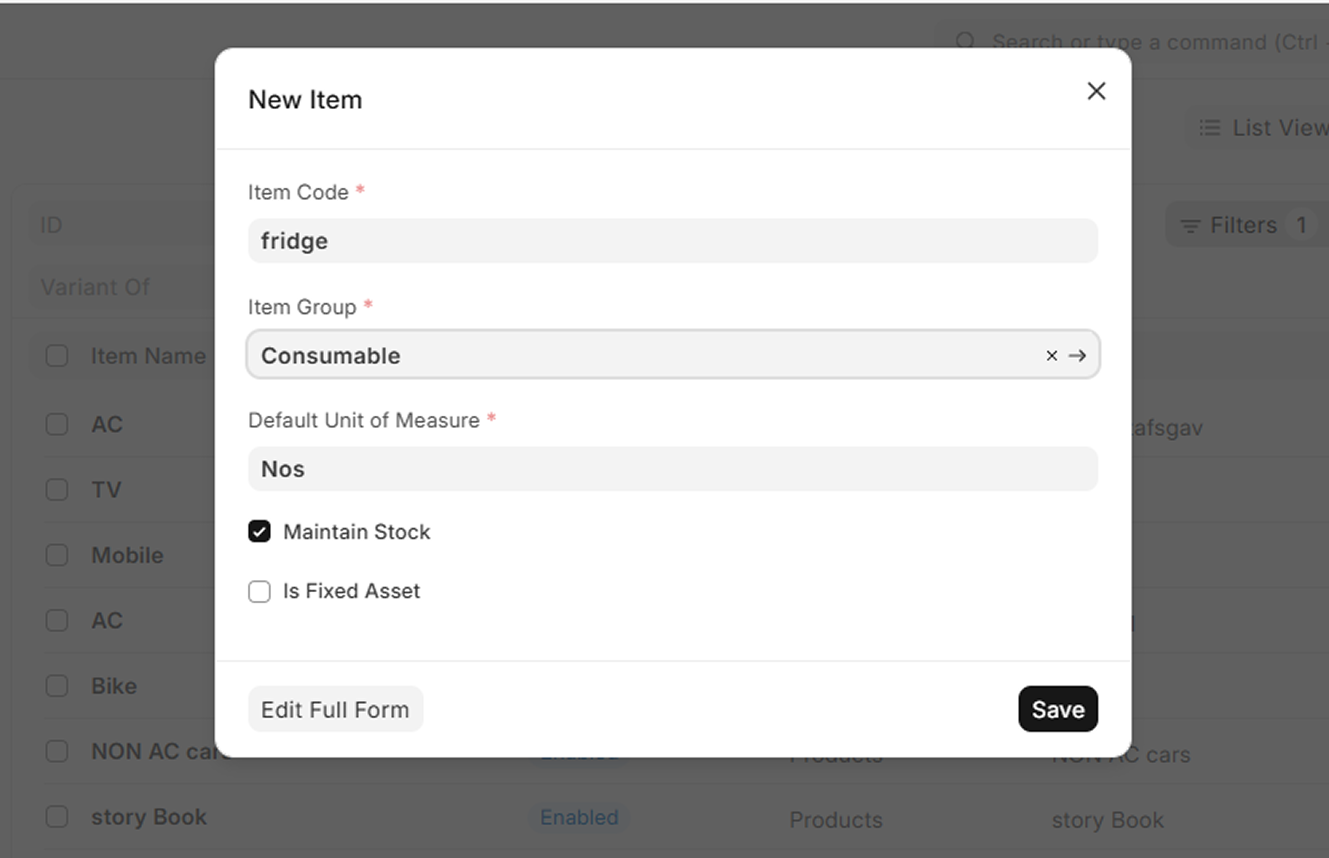
Done? Great
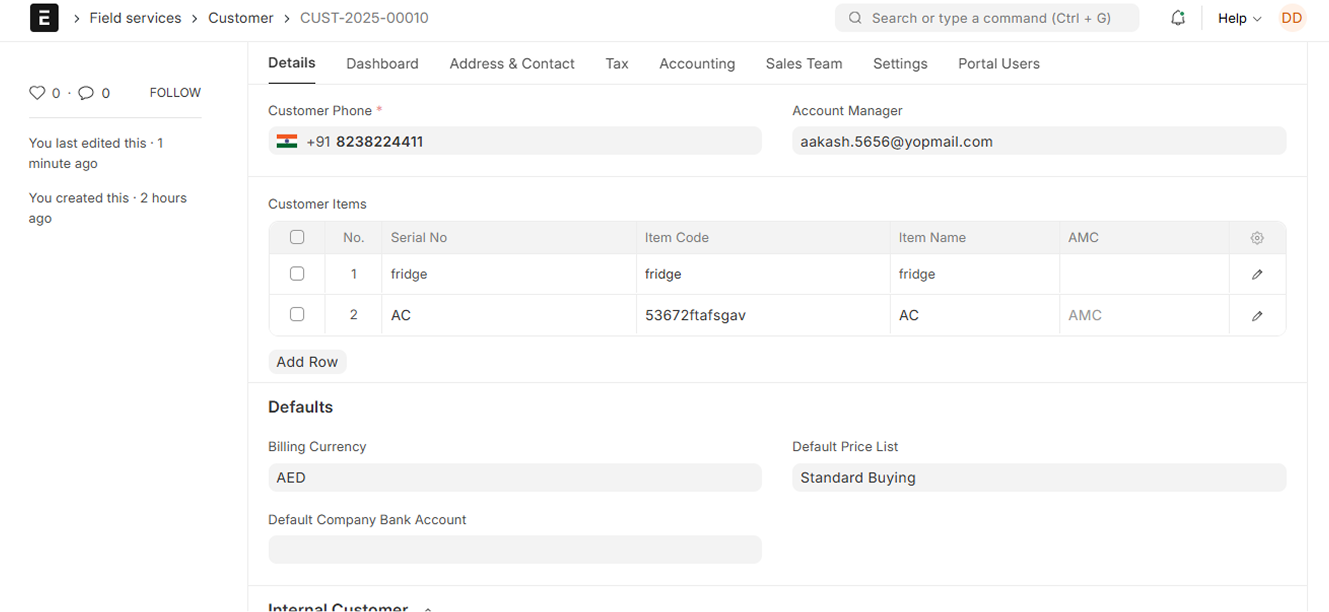
Now go back to Jack’s customer profile and add a row under his items
Select Fridge from the list. This way, every product is perfectly tied to its owner.
Smooth and organized just how it should be.
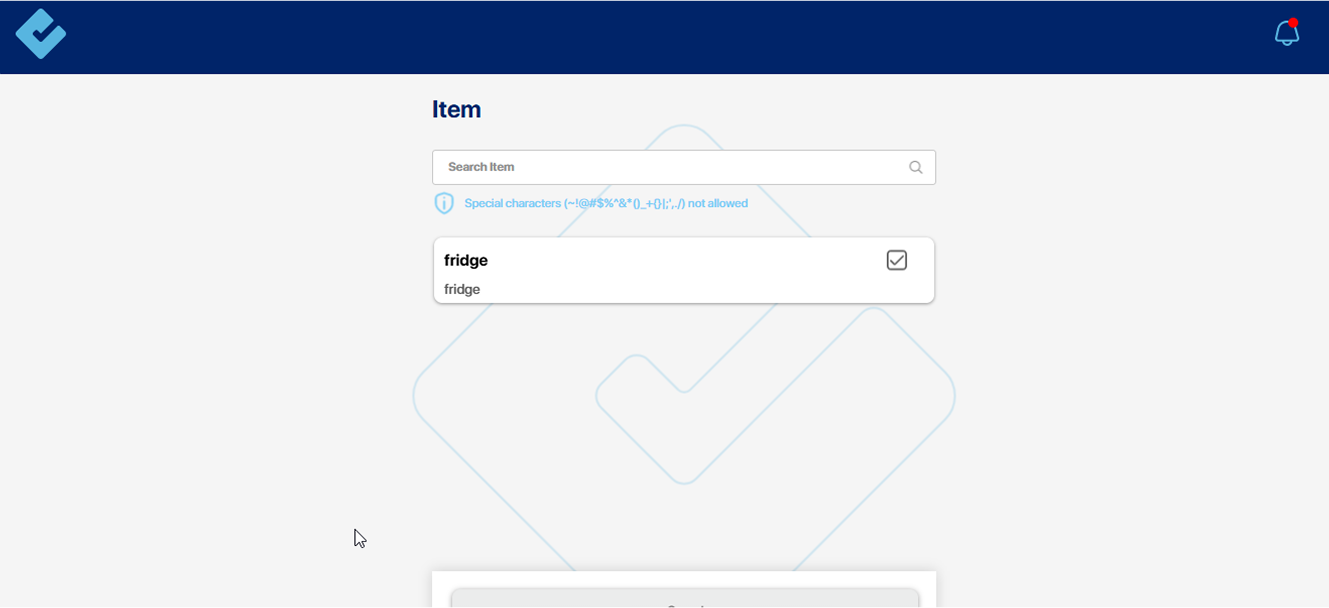
Now, inside CheckTrack
when you select Jack as the customer, you’ll notice something cool his associated products, like the Fridge, will automatically show up in the item options.
No need to search through everything. Just choose the customer, and the right products follow. Simple, fast, and perfectly connected.
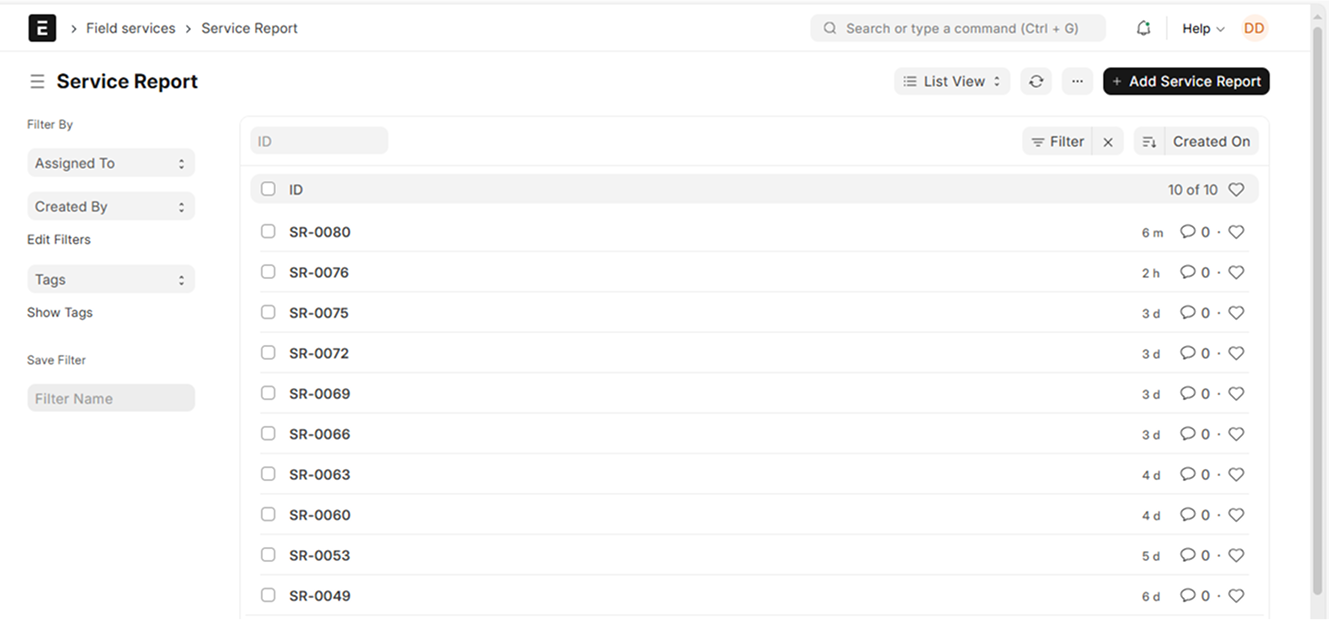
Service Report
Let’s say you need to create a service report for the customer Jack here’s how to do it quickly and efficiently:
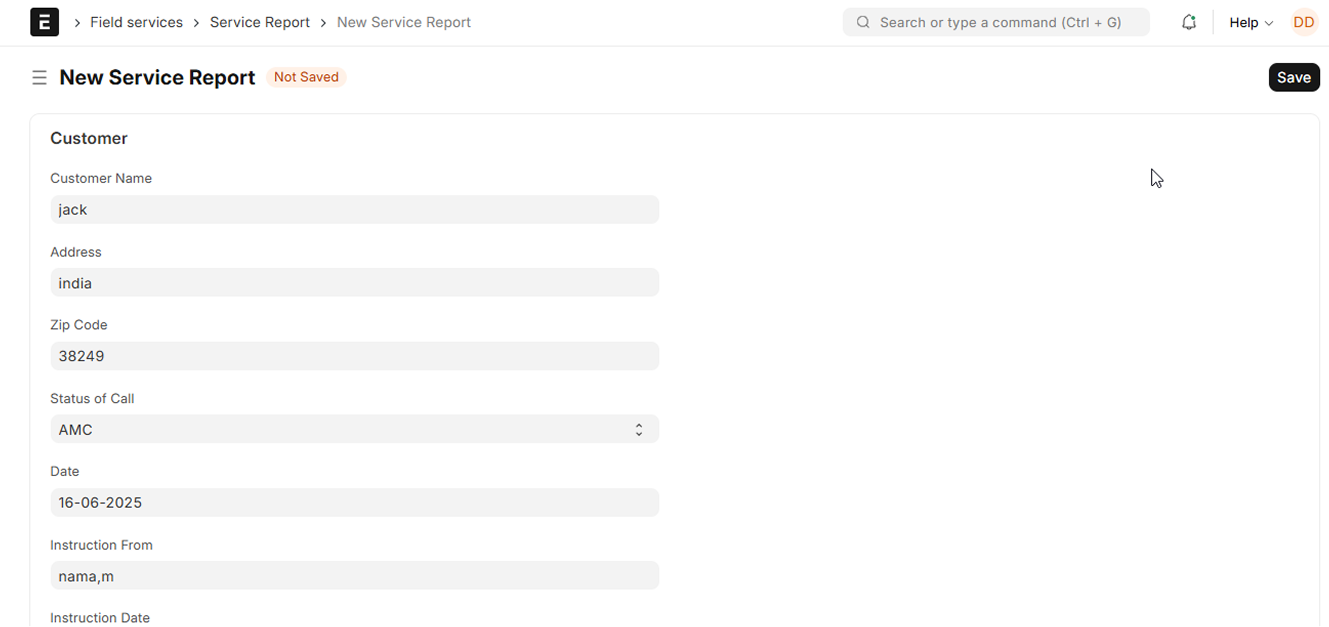
To create a new one, simply click on “Add Service Report.” The form will open.
Fill in all the necessary details related to Jack and his product
Once everything is filled, hit Save.
And just like that, Jack’s service report is ready! Fast, clear, and right on record.
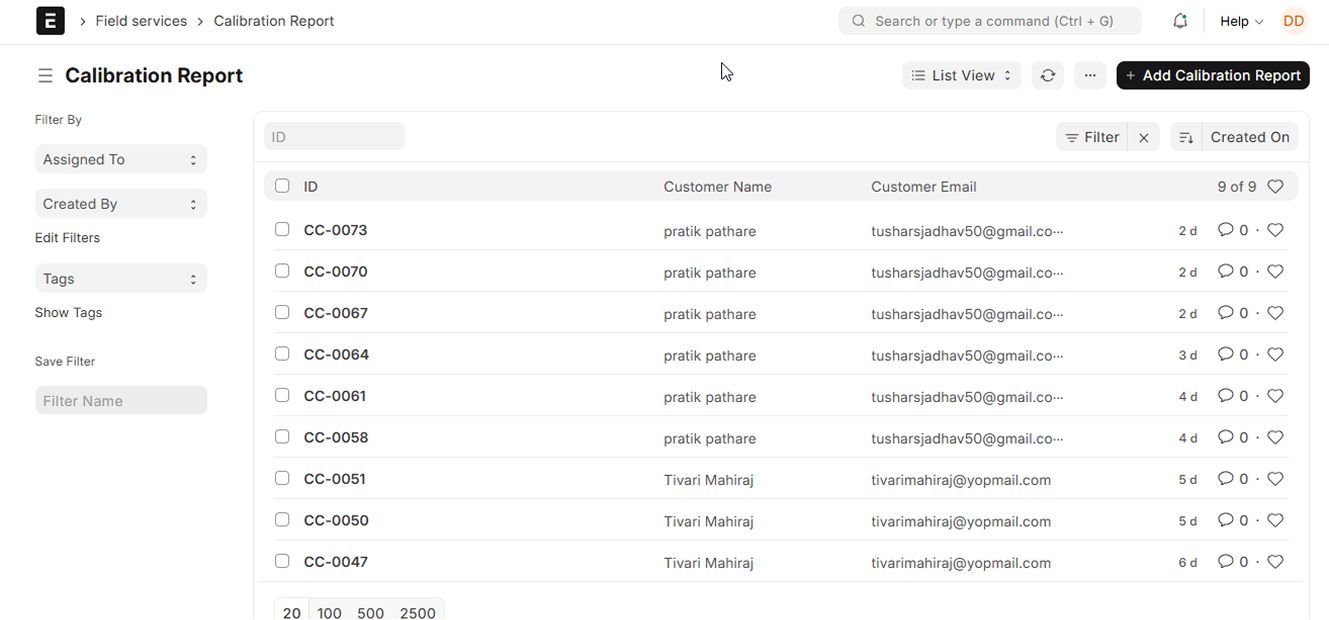
Calibration Report
Creating a Calibration Report is just as easy!
When it’s time to make one for Jack, here’s what you do:
Head to the search bar and type “Calibration Report.”
You’ll see a list of existing reports pop up.
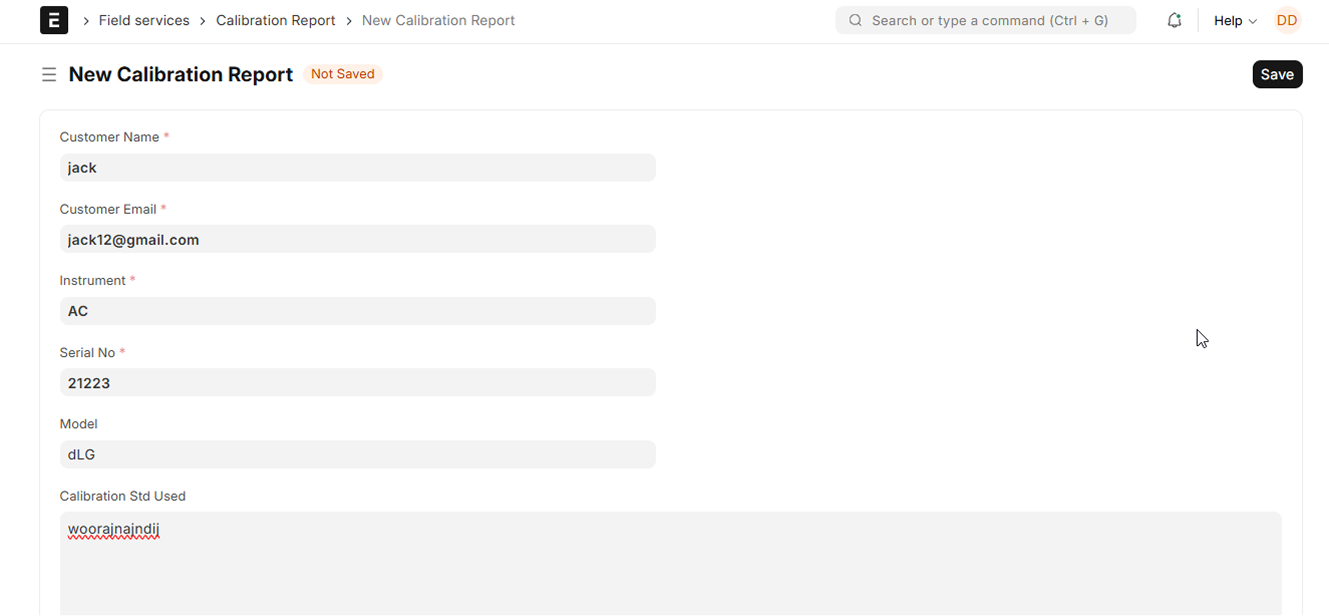
To add a new one, simply click on “Add Calibration Report.”
Fill out the form with the required details, hit Save, and that’s it!
You’ve successfully created Jack’s calibration report.
Smooth, quick, and absolutely effortless isn’t it?
And that’s a wrap!
Managing tasks, customers, products, automatic task creation for maintenance schedules and reports in Frappe and CheckTrack is now easier than ever streamlined, efficient, and built for admins who want full control with zero confusion.
Ready to experience it yourself?
Go ahead, explore, and let the system do the heavy lifting
We’re here whenever you need us just reach out!